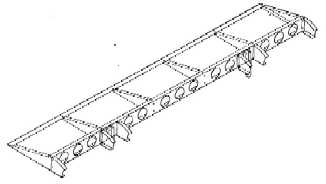
Constructing
the Ailerons
[31
hrs]
|
Constructing |
Januray 10, 11, 12, 23& 24:
 |
With the wing in its temporary
position attached to the cabin, construct the aileron on
the workbench holding all components together with clecos.
Clamp the aileron into position on the wing to make sure
there is correct clearance at each end. I am going to use
6 solid rivets instead of bolts to secure the brackets to
the aileron itself and will not have to insert and
inspection plate, but bolts for the support arm as these
can be checked externally. TIP: Don't drill the holes in the support arms until both the wing and the aileron has had their skins riveted into position, this will help in the correct alignment of the aileron with the wing. |
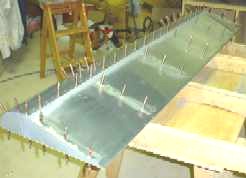
Considerable
time needs to ne allocated for cutting and riveting the
skins to the aileron to make sure it fits with a 10mm gap
on each side within the wing and able to move up and down
without being affected by the support bracket. |
 |
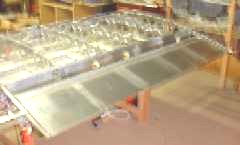 |
Perfect fit with even gaps on
both edges and full movement. TIP: Holes have not yet been drilled in the support brackets until the whole wing has been skinned. This will enable the height and the trailing edges to be aligned with a string line before the holes are drilled and the bolts inserted. |
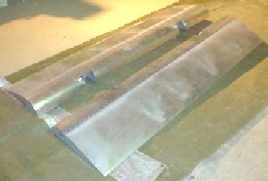
Both ailerons are now completed and ready for their final assembly when the wings are attached to the fuselage. At the time the mounting holes will be drilled making sure all surfaces are aligned and the the control rod that joins the aileron to the control mounting bracket will be cut to length. Before that happems thought, I will spray the alierons with undercoat in preparation for its final coat of paint. |
 |