Fitting the Controls
30
hrs
|
Fitting the Controls |
December 16, 19, 20 & 28
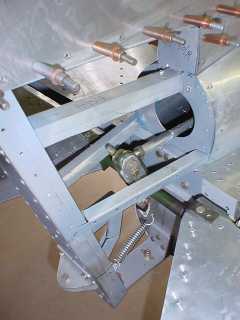 |
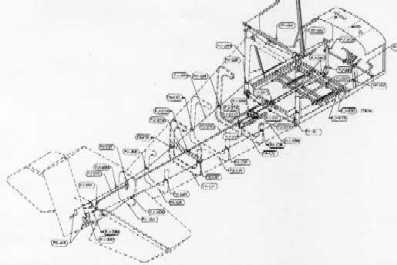
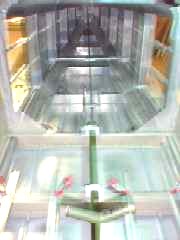
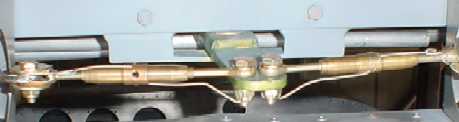
The elevator controls are best installed wbefore the skin and inspection cover have been installed as there is not much room in here to align the right and left elevator, drill the holes and bolt the connecting barcket, fit the push rod, construct and fit the stopper as well as the tension spring. TIP: Rivet the skin that covers the elevator controls last after all components have been aligned, tested, dismantled for painting and fitted into position for the final time, this way there should be plenty of room to work and see all parts move freely. |
 |
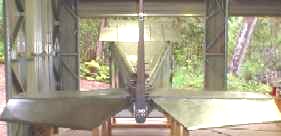 |
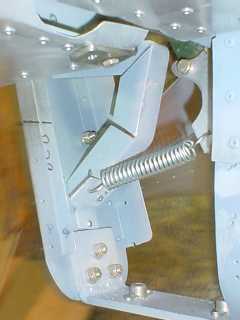
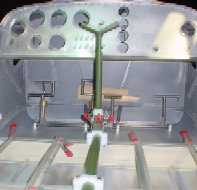
Both elevators are aligned e.g. the same distance from the horizontal plane and able to swing freely with the tension spring keeping it from its lowest position. After the tension spring has been installed in the cabin the elevator will return to the horizontal plane allowing the trim control for fine adjustment in-flight. |
 |
 |
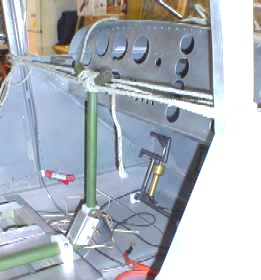
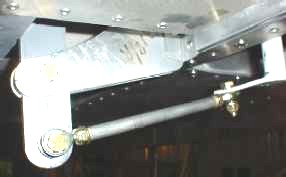
The elevator control has now been attached from the elevator bracket right throught to the control stick giving back and forward motion as well as sideways motion for the ailrons when the wings have been constructed and attached to the cabin structure. The angle brackets that hold the trim controls have been clamped into position ready for the trim to be installed. |
 |
February 24
 |
Before cutting any of the
aileron control rods or cables, tie the joy stickinto the
vertical position so it will not move as well as the
aileron control rods to the control lever. |
 |
 |
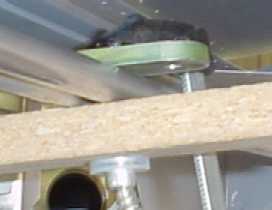
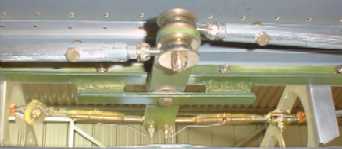
With the cables cut and secured into position with a compression sleve, adjust the turn buckles so there is reasonable tension on the cables but allowing the guide wheels to rotate. I have used tie-wire to prevent the turn buckle and nuts from moving. |
 |
The linkage arms at both the
aileron end and inside the cabin have been cut and
secured into postion. |
 |