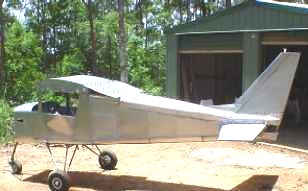
Doors, Windshield and Landing Gear
[40 hrs]
|
Doors, Windshield and Landing Gear [40 hrs] |
30 & 31 December and 1 January 2002
|
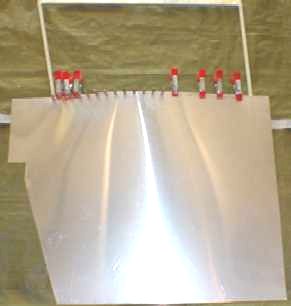
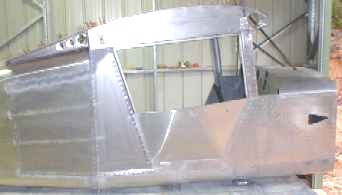
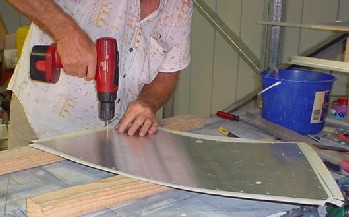
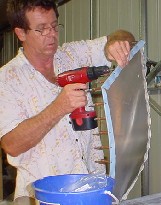
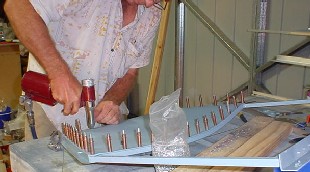
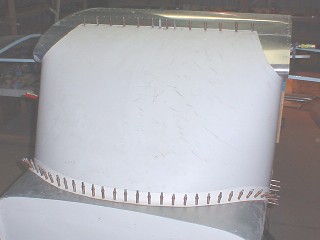
The doors have a natural bend in
the middle to allow for elbow room which adds a little
more width to the inside of the cabin. Start to form the
shape of the 0.025" skin from the centre out using
as many clamps as you have to as to avoid kinks in the
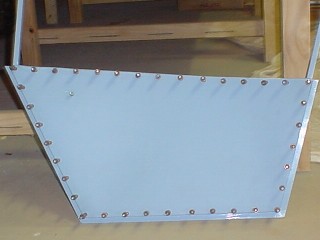
skin and allow the shape to be formed naturally. TIP: Use larger sections of skin for the doors as the shape changes as it wraps around the curved sections. After all holes have been drilled and clecos inserted, mark the 15mm overlap, the door handles and where the rods exit the door frames. Don't cut and fit the lexan windows until the wings have been attached, doors painted and ready for the final fitting. |
 |
With the door in position and the 15mm overlap, there is little prospect of wind entering the cabin when flying. The lexan will not be cut and fitted into position until the doors have been painted, wings attached and the door is ready for its final fitting. |
 |
 |
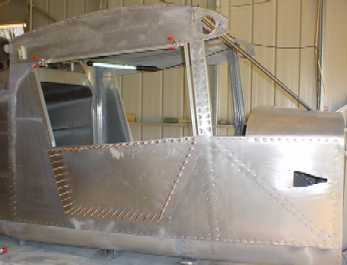
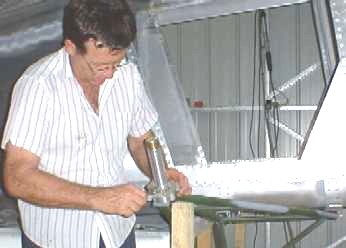
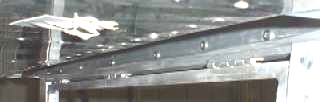
Use the four holes drilled during the cabin construction to mount the frame that will support the engine and the trike front wheel. The inner spring for the front wheel has not been assembled as I will wait to get the correct measurements after the engine has been installed. I will have to modify the mounting bracket for the Jabiru 3300 to make sure the prop remains in the thrust line, 6 inches below the firewall. Another factor to consider will be the centre of gravity as the 6 cylinder 3300 engine may have to move forward to clear the trike landing gear. To counter this I will probably make a battery box behind the passenger seat to move some of the weight behind the seat and help with the centre of gravity. |
 |
 |
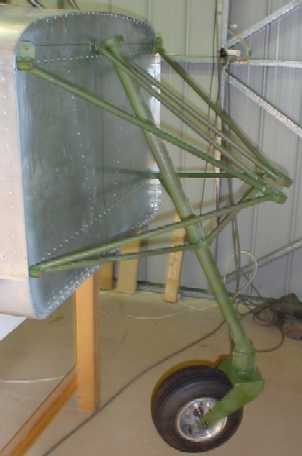
The hydraulic brakes and wheels will certainly stand up to the most ruggard landing strip or country paddock you could imagine. Note the solid construction of the landing gear and how the hydraulic breaks and wheels are bolted to the frame. The break pads are well shielded and the tube stem is concealed within the wheel drum assembly itself for further protection. |
 |
Without a
bungee cord, a temporary 1/8" U shaped bracket has
been secured to the brackets under the aircraft and is
holding the landing gear in place and preventing it from
collapsing. Now I will be able to push the R80 out of the
workshop to give more room inside to work on the wings as
well as later on to prepare the metal for painting. This
way all the dust will be outside the workshop and my
lungs. Painting however will be done inside out of the
environment in our sub-tropical hideaway. |
 |
March 2, 3, 8 & 30 |
|
|
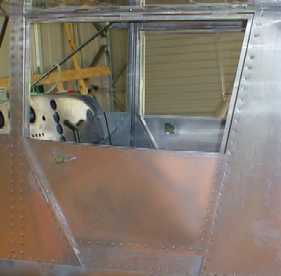
Living in the sub-tropical climate in Australia we like to take off the doors from time-to-time and fly low over our beaches or the country side and enjoy the fresh air and while there are a number of ways the hinge mechanism can allow for this, I have used 1" X 1" angle and 7 self-locking nuts to hold the door into position and give added strength to the supports. This image shows the door in its final positing, but will be removed when installing the 3300 litre Jabiru engine, instruments, electrical and when it is time to paint the aircraft. |
 |
Seven (7) self-locking nuts have been riveted to the angle bracket to support the door and give it strength. The door can be removed by taking out the screws once the the wing flaring has been removed. |
 |
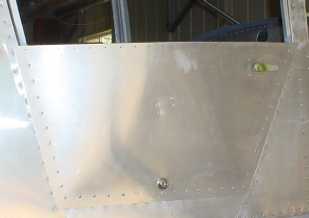 |
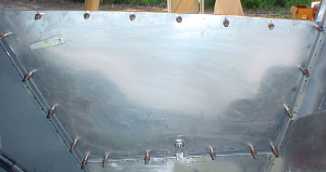
Both images show the door fixed into position as outlined above, holes drill for the rods to pass through the frame and a cam lock to secure the cabin from unwanted visitors while away from the aircraft. The inside skin is held into position with clecos until I am ready to stick the upholstery to the panel. |
 |
 |
The automotive upholstery glue can be spread
on the surface of the panel as well as the vinyl and allowed to go stick
before bringing the two surfaces together. This glue takes 24 hours to
cure but remains tacky long enough to allow the vinyl to be removed if
it is in the wrong position. |
 |
With the glue set the holes are drilled using the
existing holes drilled in the panel, drill through the vinyl
before folding excess vinyl on to the rear surface so that you can get a
very neat finish when the panel has been riveted to the door frame. |
 |
 |
Lay the panel over the door frame and work around the circumference fitting each cleco into the pre-drilled hole making sure the vinyl remains stretched and the corners are neatly tucked behind the panel before riveting the panel to the door frame. |
 |
April 3, 5 & 6
 |
The fitting of the windshield will require edges
to be trimmed so a tight seal forms on all surfaces. |
 |
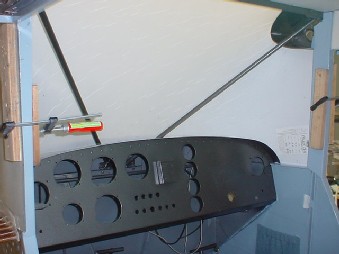 |
With all edges fitting correctly, start to drill
and fit the clecos on the cabin roof before drilling holes in the lower
panel. |
 |
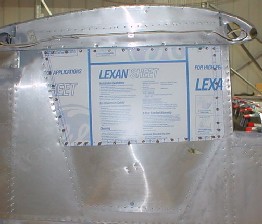
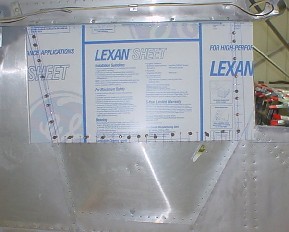 |
The lexan door panels come oversized so it is an
easy task to shape and fit them into position drilling the holes and
holding the lexan panel in position with clecos while marking out the
edges. |
 |