|
[65 hrs] |
February 1, 7, 8, 15, 17, 22 & 24
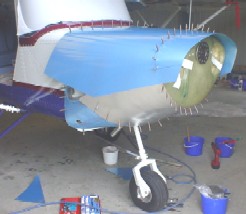
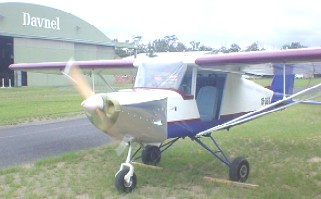
Repairing the damaged nose section provided the opportunity to modify the nose bowl and cowls so that access to change the oil in the Jabiru 3300 was much easier than before. |
|
|
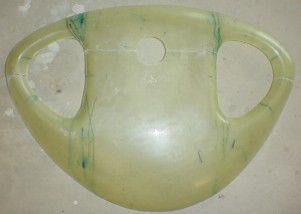
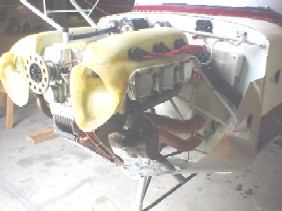
The new nose bowl is divided into two sections with just sufficient space for the prop shaft to rotate freely restricting the amount of air that can flow into the engine bay other than through the air intake scoops. The cowls to be made in two sections held into place with self-locking nuts. |
|
 |
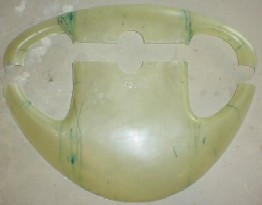
To secure both sections of the nose bowl, rivets are used to hold .025" aluminum strip to the top section with a light coating of fiber glassing on the inside, while the bottom section of the nose bowl will have self-locking nuts and screws so that the two sections will be able to come apart. 12 screws are used in all to make sure the two sections are held into position. |
 |
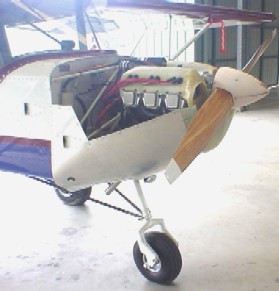
The engine cowl is divided into three sections, the bottom section riveted into place with the other two sections being able to be removed with self-locking nuts. The aluminum sheeting is formed with everything in position and the front edges riveted to each half of the nosebowl. A coating of fiberglass will be applied on the inside to cover the rivets. |
 |
 |
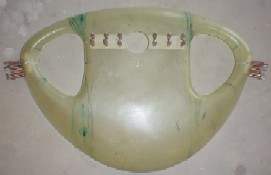
The top and bottom sections of the cowls can easily
be removed when work has to be carried out on the engine, electrical and
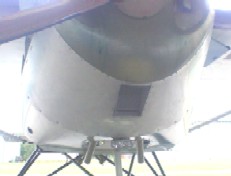
fuel system. The hole in the underside is for the oil cooler. The image on the right shows how the bottom cowl section is attached to the fixed panel riveted to the firewall. |
 |
 |
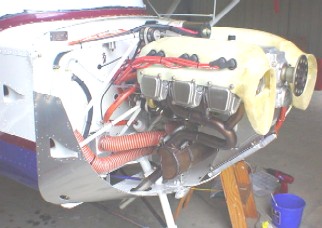
The fixed panel riveted to the firewall has an air
intake scoop on either side, one for the fresh air intake to the hot
box, and the other to supply fresh air onto the rear of cylinder 5 and
the magneto which can get hot during flight. The landing light is bolted to the fixed panel as well with a plate to prevent the light assembly from vibrating while the engine is running. |
 |
March 4, 7, 8, 14, 15, 22, 29 & 31
 |
The bottom section of the engine cowl is permanently riveted into position with two air scoops, one for the hot air box and the other to cool the rear of the engine, the nose wheel passing through a hole and steering linkage arms attached, and finally the landing light attached to the bottom of the cowl. |
 |
 |
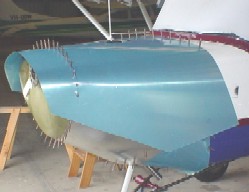
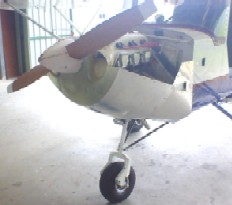
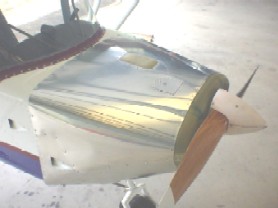
With all the electrical, fuel and exhaust systems fitted and tested, the top cowl is fixed into place and checks made to ensure no metal surfaces are rubbing and the spinner is free to rotate without touching the nose bowl. |
 |
April 4, 5 & 12
 |
The top cowl has a fiber glass bubble to house the
starter motor and prevent it from rubbing on the panel. Before riveting
the fiber glass bubble into position, a thin coating of resin applied so
that a seal will be formed to prevent air or water from entering. A hinged inspection flap fitted with a quick release button so the oil levels can be checked during preflight visual inspection. |
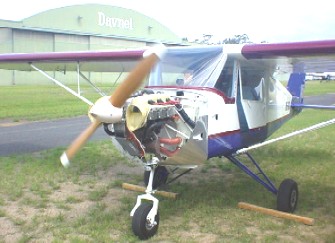 |
Testing the engine before starting the low speed
and high speed taxi tests, instruments and gauges before taking again to
the air for a 1.6 hour test flight where everything performed as per the
manual. |
 |