Horizontal Stabilizer Assembly
[69 hrs]
|
Horizontal Stabilizer Assembly [69 hrs] |
Horizontal Stabilizer: 7, 14, 20 & 22 September
|
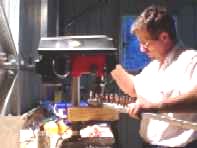
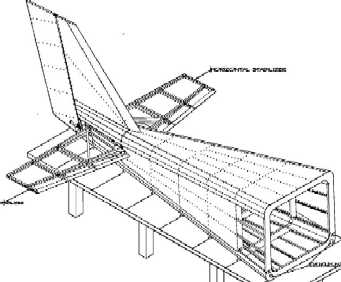
Before setting out the
horizontal stabilizer, read the plans very carefully and
lay out all the parts first as this is one of the most
complex constructions I have attempted to date. Cut to
lengths as per the drawings and set them out prior to
drilling. TIP: Make plenty of room on the workbench to construct both stabilizers. Drill all the holes and use clecos to hold the parts together but don't rivet any pieces until both horizontal stabilizers have been fitted into place to allow for changes in the angles. |
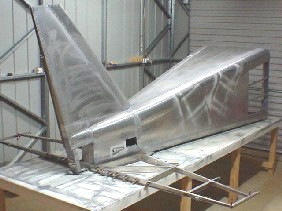
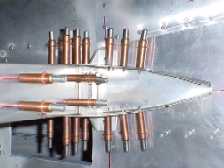
The
two stabilizers have been cut an drilled ready for
adjustment once they have been lifted into position. The
next stage is to make up temporary frames and fix them to
the bench so the stabilizers can rest on the frame at the
correct angle to the fuselage and workbench. |
|
|
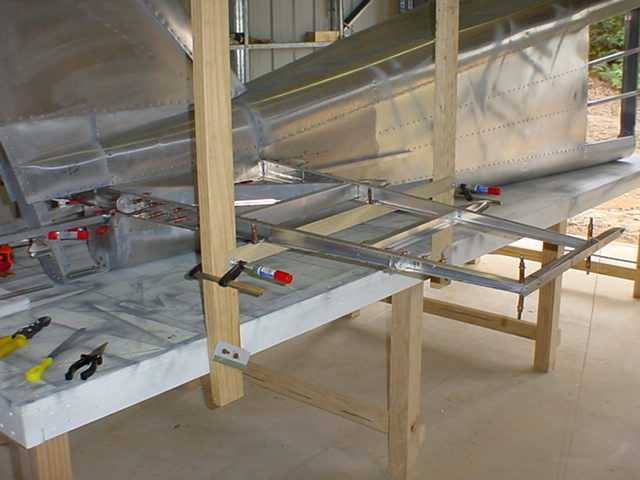
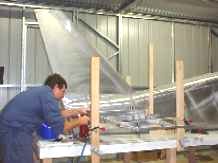
To assist in the construction of
the horizontal stabilizer, build a temporary frame on
both sides of the fuselage to support both stabilizers to
the measurements above the workbench as specified in the
drawings and it will also keep the stabilizer at the
correct angle from the leading edge to the trailing edge. TIP: Before using clecos to clamp both stabilizers to the support frames, run a string line from stabilizer tip to the other stabilizer tip so the trailing edge remains aligned. |
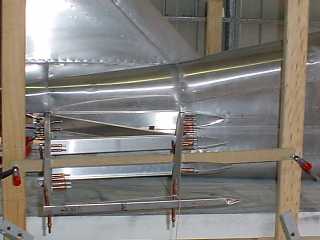
The support
frames on both sides of the fuselage will allow you to
adjust the horizontal stabilizers to the angle and in my
case, I had to adjust several of parts so the edges
remained at right angles to the trailing while fitting
tight against the fuselage. |
|
|
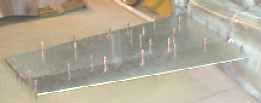
Adjust measurements to all parts so the
horizontal stabilizer bracket is in-line with the metal
fuselage frame as this is what gives the stabilizer its
strength. TIP: Use as many clecos as necessary to hold components into place making sure both stabilizers are kept aligned, at the correct angel to the workbench as well as the centre line drawn along the side of the fuselage. This takes time, but it is important to spend the time so when they horizontal stabilizers are finally fixed to the aircraft, no further adjustments will be necessary. |
Time to start
riveting both horizontal stabilizers after pulling them
apart, deburring, wiping clean, spraying all surfaces
that come into contact with each other then putting all
the parts back together again. I will wait until the
cabin is completed and attached to the fuselage before
fitting the skins to the stabilizers, however all
attachement holes have been drilled. |
|
December 1, 2, 6 & 7
|
With the two stabilizer bolted into position
and aligned according to the drawings, mark out and drill
the top skin then use it as a template for the bottom
skin, then clamp them into position on the stabilizer
frame drilling the holes and clamping with clecos from
the fuselage out toward the tip, this will ensure the
skin remains tight against the frame. TIP: Only trim the edge that fits against the fuselage, leave the others as these can be trimmed when everyting is in place. Don't rivet until the elevator has been constructed. |
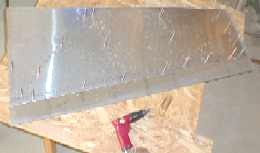
The marking
out and fitting of the leading edge will take some time
as it has to fit around the supporting barcket that holds
the stabilizer into position, then start drilling from
the fuselage out toward the outer edge so it remains a
tight fit against the support bracket. |
|