Constructing the Wings
[214 hrs]
|
Constructing the Wings [214 hrs] |
January 1, 2, 3, 4, 7, 8, 9, 10, 12,
13, 14, 15, 16, 17, 18, 19, 20, 23, 25, 28 & 31:
With the BushCaddy off the workbench and standing on its own
three wheels its time to reorganise the workshop and move the
workbench so the R80 can be rolled in and out of the workshop
while I work on constructing the wings.
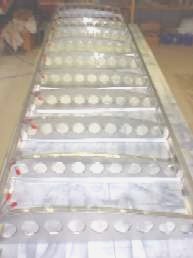 |
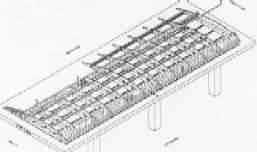
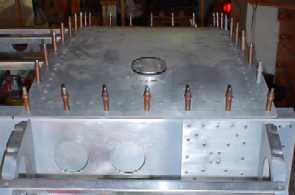
Draw 947mm lines on the workbench for the
front and back spars and clamp them to the workbench
using clecos and scrap metal pieces, this will ensure the
base remains parallel. Layout all the pieces before
starting construction to make sure the correct pieces go
in the right places. The main spar sections are
lengthened by solid riveting the sections together. TIP: Construct two bracing brackets 947mm apart to make sure the top remains vertical to the base and move them along the frame as you drill and cleco each rib into position. Use a square to make sure each rib remains vertical to the workbench and spar. |
|
|
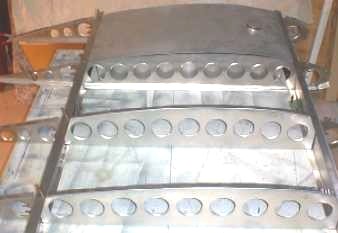
Test the space between the two
ribs for the fuel tank and that the curve of the top of
the fuel tank matches that of the rib on each side before
drilling and using clecos to hold all the parts together.
Double check all the measurements before drilling,
particularly the space to be left for the aileron. TIP: Use a square to make sure the ribs are vertical to the workbench before drilling any holes. I used cut off metal pieces and clecos to secure the rib to the workbench before drilling any holes to make sure the rib remained vertical and in the correct position. |
 |
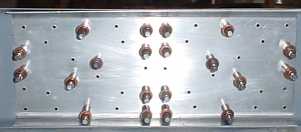
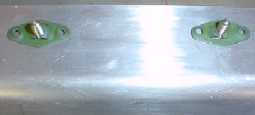
The image on the left is of the bracket that protrudes from the wing so the forward strut can be attached to the landing gear bracket under the cabin. The image on the right shows the bracket that bolts the forward wing section to the top the bracket on the cabin above the door. | 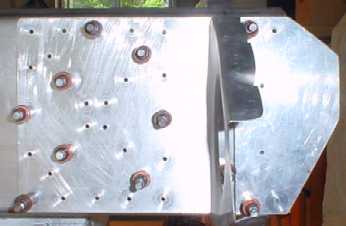 |
 |
The fuel tank is located between the first
and second rib and held in place with self-tappers
screwed into the locating nuts which are riveted into
position. TIP: Mark and drill the holes for the fixing the tank, then invert the nut as it is held into position with the self-tapper screw and drill the holes for the rivets |
 |
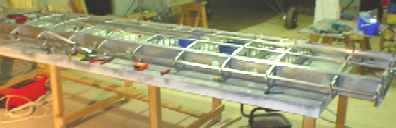
With the
stiffiners on the top of the wing riveted into position
the wing has been turned over and blocks of wood placed
under both ribs so it remains level while the stiffiners
for the bottom of the wing are marked and riveted into
position. Additional stiffeners and self-locating nuts
are fixed into position for an inspection plate that will
reveal the aileron pivot bracket. |
 |
 |
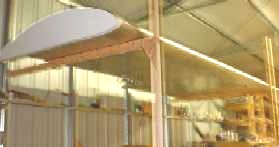
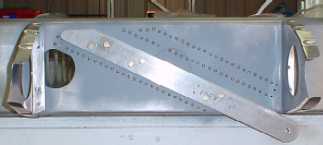
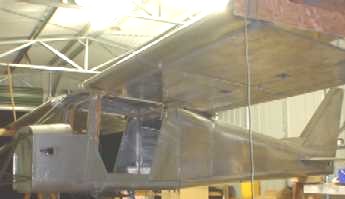
With the wing in its temporary position in line with the cabin it provides the opportunity to fabricate the section that attaches the cabin to the fuselage following the exact shape of the wing TIP: Don't rivet until the right wing it ready for its temporary fitting. | 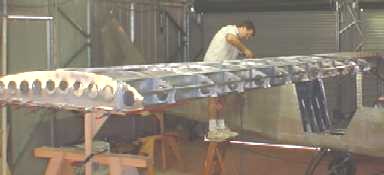 |
|
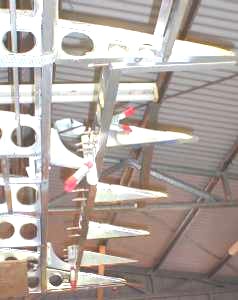
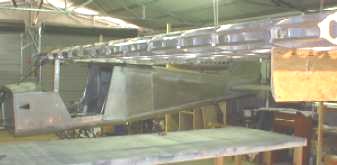
Having the wing without its skin
held in its temporary position enables several tasks to
be completed and being light, I could handle the wing by
myself. 1. Check for free movement of the aileron control rod while it is attached to the aileron control arm, also for alignment of the bushes that the control rod passes through in the wing on its way into the cabin. TIP: Make and adjustments until the rod and control arm move freely with no pressure being placed on the rod. 2. The alignment and fitting of the aileron to the support brackets TIP: Don't drill the holes in the brackets that support and attach the aileron to the wing until the skins have been fixed to the wing and the aileron. |
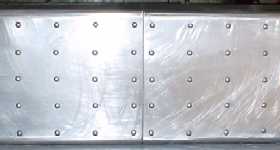
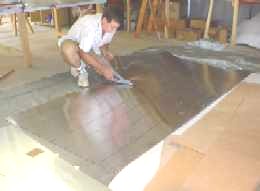
The
construction manual states that the temperature should be
80F or 27C when working on the skins for the wings, well
current temperatures in my workshop have ranged from 100F
to 84F today, after all it is our summer. |
 |
|
TIP: Make sure there is a 20mm washout from the leading edge to the trailing edge and the wing frame is firmly secured to the bench before marking out and drilling the rivet holes, section by section. The twist incorporated in wing tips is used to raise the trailing edge giveing less incidence at the tip than at the root making the aircraft more stable. |
Time to close
up the under side of the wing but first use an old vacuum
cleaner to clean out metal shavings and anything else
that may have fallen into the wing assembly. |
 |
|
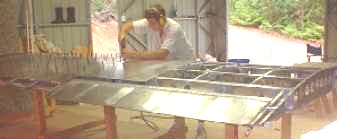
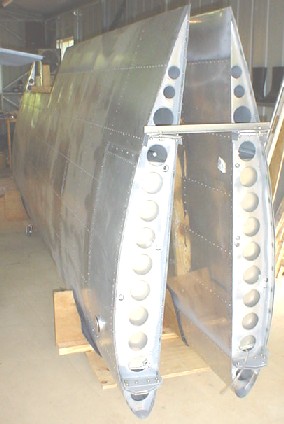
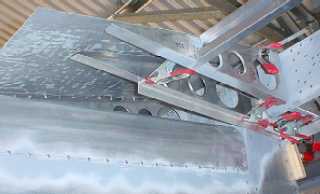
Now that the right wing has been completed it's time to store it away so the left wing can be constructed on the workbench. The mobile stands that you can see in the image are portable and will be used as supports as I attach the wings to the R80, and after a second support it fixed to the stand under the existing wing support, I will use the stand to transport both wings to the paint shop and Caboolture airport when it's time for the test flights and it's new home in the hanger. By constructing mobile supports in this way, one person can attach the wings without difficulty. |
Work is well underway on the left wing. I have already drilled and prepared anumber of brackets and plates when working on the first wings so the progress is a little more rapid. Also I have learned a considerable amount from the right wing and this really does help. |
 |
|
The right wing supported by an end support bracket is moved into position so the support brackets for the aileron control rod can be bolted into the correct positon so there is no drag and the rod moves freely. This also provides the opportunity to trim the sheet that joins the cabin to the fuselage. This section however will not be riveted into position until both wings have been fitted. |
February 1, 2, 3, 6, 8, 13, 15 & 16
Working on the left wing is progressing and riveting will commence on the 16th. With this wing, the plastic tube has to be run through the ribs to the pitot tube so make sure this is in position before riveting the panels into position but don't rivet the bracket onto the wing as it might get damaged during the installation of both wings. As with the right wing, clamp the aileron into position to make sure the trailing edges align but don't drill the mounting holes until the wing is attached to the fuselage. |
 |
|
The wings are removed and stored in a frame
that has been constructed to be self-standing and transportable with
rubber wheels and a centre stem. The wings are bolted together as well
as with a spacer where the ailerons will be located to prevent movement
when it is rolled onto the trailer so they can be painted at "R-N-R"
Aviation at Caloundra airport. The frame will also be used to transport the wings to Hanger 10 at Caboolture airport where the R80 will be housed. This will be it's home base and open for inspection and test flights by appointment. The frame has a top mounting bracket used to support the wings as the are fixed to the cabin making it a one person job. |